# Reusable Payment Token
Once you get the payment nonce with the card agreement you can exchange it for a reusable payment token by doing an authorized call from your backend to API service:
- Request URL: https://services.poynt.net/businesses/{businessId}/cards/tokenize
- Request method: POST
- Request headers:
- Authorization: bearer <ACCESS_TOKEN>
Request body:
{
  "nonce": <nonce>, // payment nonce from nonce event
  "card": {
    "cardAgreement": <cardAgreement>, // card agreement object from nonce event
  },
}
Response body:
{
    "card": {
        "type": "VISA",
        "status": "ACTIVE",
        "expirationMonth": 0,
        "expirationYear": 00,
        "id": 000000,
        "numberFirst6": "000000",
        "numberLast4": "0000",
        "numberMasked": "000000******0000",
        "numberHashed": "XXXXXXXXXXXXXXXXXXXXXXXXXXXX",
        "cardId": "11111111-1234-1234-12345789012",
    },
    "cardOnFile": true, // make sure this field is equal to "true" in response
    "applicationId": "urn:aid:12345678-1234-1234-12345789012",
    "token": "<token>",
    "paymentToken": "<Payment JWT>",
    "avsResponse": {
        "addressResult": "MATCH",
        "postalCodeResult": "MATCH"
    },
    "cvvResponse": "MATCH",
    "status" : "ACTIVE",
}
Here, you can save a paymentToken from the response to your persistent storage so you can use it to charge your customer.
WARNING!
Do not modify the cardAgreement object obtained from the nonce event. You will need to pass it as it is to generate a payment token.
# Selecting Saved Card
Once you save your reusable payment token to your persistent storage, you can now give your customer the option to use the saved card during the checkout. Currently, there are two ways of doing this:
Create your own UI to show and select saved cards.
Use the built-in feature in Poynt Collect to show and select saved cards.
# Built-in Feature
Please follow the steps below to use the built-in Poynt Collect feature to display and select saved cards.
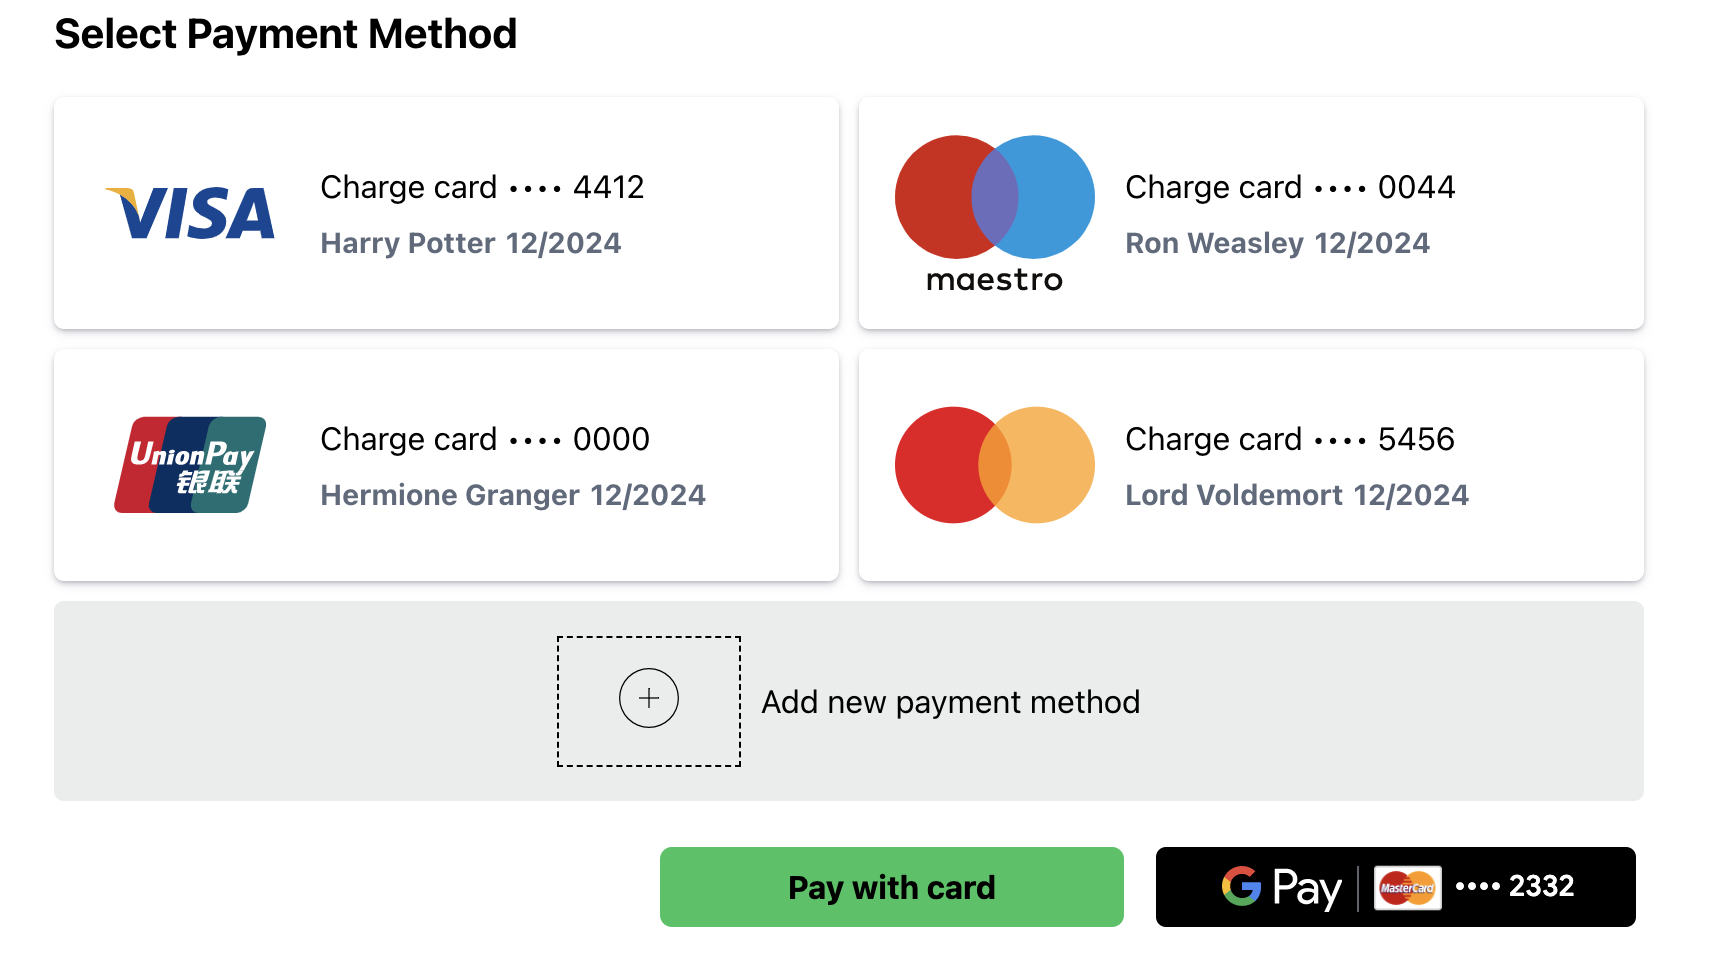
Pass an array of the saved card objects you want to show (using the data from the payment token) to the
savedCardsfield in the mount options when callingcollect.mount.Add an event listener for the
card_on_file_card_selectevent using thecollect.onmethodStore the card ID obtained from the
card_on_file_card_selectevent into your application's state.Once the customer clicks the Pay button during the checkout process, check if the card ID exists in the state of your application. If so, you can charge the saved card selected by the customer using the payment token associated with the card ID. If not, you can follow the regular flow by calling the
collect.getNoncemethod to generate a nonce.
NOTE
The cardId obtained from card_on_file_card_select will be undefined if the customer chooses to add a new payment method instead of using a saved one.
Code Sample:
const state = {
  selectedCardId: null,
};

const poyntCollect = document.createElement("script");
poyntCollect.src = "https://collect.commerce.godaddy.com/sdk.js";
poyntCollect.async = true;
poyntCollect.onload = () => {
  const collect = new TokenizeJs(
    "business-uuid",
    "urn:aid:application-uuid"
  );

  collect.on("card_on_file_card_select", (event) => {
    state.selectedCardId = event.data.cardId;
  });

  collect.mount("collect-container", document, {
    ...
    enableCardOnFile: true,
    savedCards: [
      {
        id: "1",
        type: "VISA",
        numberLast4: "4412",
        expirationMonth: 12,
        expirationYear: 2024,
        cardHolderFirstName: "Test",
        cardHolderLastName: "Test",
      },
      {
        id: "2",
        type: "MAESTRO",
        numberLast4: "0044",
        expirationMonth: 12,
        expirationYear: 2024,
        cardHolderFirstName: "Test",
        cardHolderLastName: "Test",
      },
      {
        id: "3",
        type: "UNIONPAY",
        numberLast4: "0000",
        expirationMonth: 12,
        expirationYear: 2024,
        cardHolderFirstName: "Test",
        cardHolderLastName: "Test",
      },
    ],
  });
};

document.head && document.head.appendChild(poyntCollect);
TIP
You can refer to the CardOnFileCardSelectResponse and MountOptions section for more information.
Desktop UI Example:
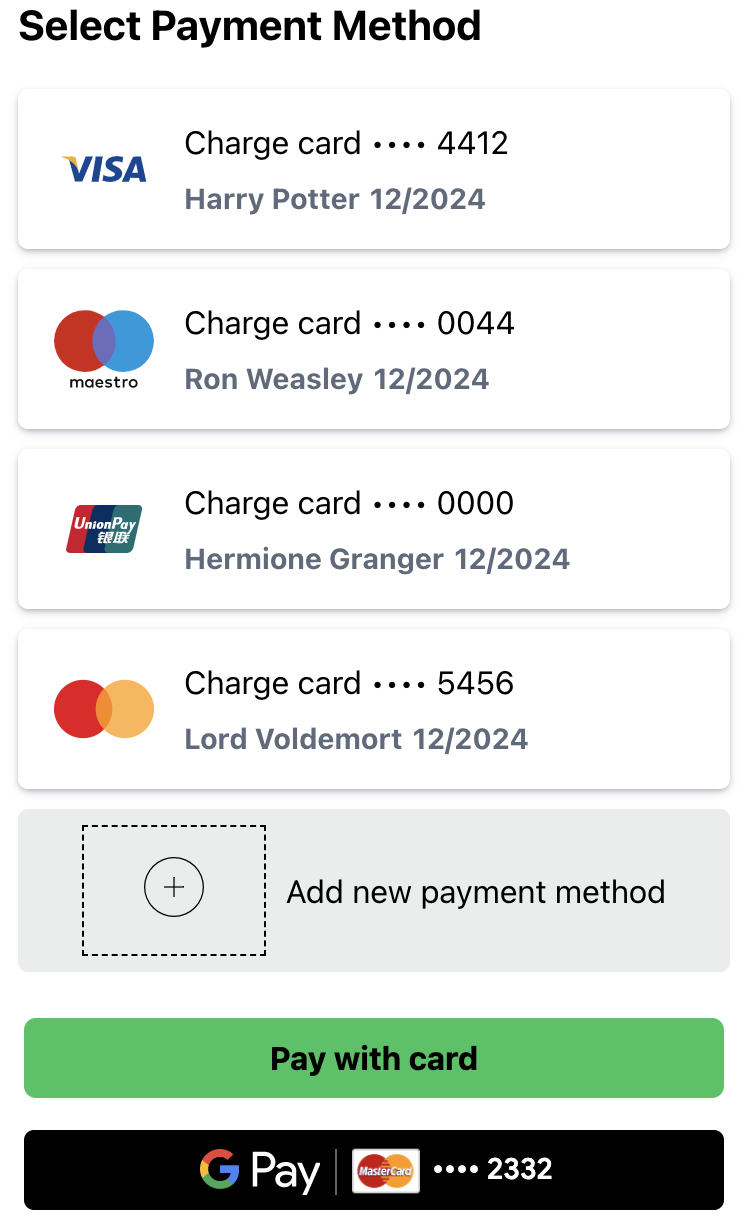
Mobile UI Example:
# Charging a COF Payment Token
Here is an example how you can charge a customer with the payment token obtained from /cards/tokenize call:
- Request URL: https://services.poynt.net/businesses/{businessId}/cards/tokenize/charge
- Request method: POST
- Request headers:
- Authorization: bearer <ACCESS_TOKEN>
Request Body:
{
  "action": "<SALE/AUTHORIZE>",
  "context": {
    "businessId": <businessId>,
    "storeId": <storeId>,
    "storeDeviceId": <storeDeviceId>,
  },
  "amounts": {
    "transactionAmount": 300,
    "orderAmount": 300,
    "currency": "USD"
  },
  "fundingSource": {
    "cardToken": <paymentToken> // payment token obtained from previous step
  },
  "emailReceipt" : true,
  "receiptEmailAddress" : "joe@example.com",
  "intent": "UNSCHEDULED_COF_TXN",
  "mit": true // used to identify if its a merchant initiated transaction (if customer is not attending the transaction from an eCommerce site then this should always be true)
}
Response Body:
{
  "createdAt": "2020-10-29T18:15:18Z",
  "updatedAt": "2020-10-29T18:26:56Z",
  ...
  "status": "<AUTHORIZED/DECLINED>",
  "intent": "UNSCHEDULED_COF_TXN",
  "id": "c5d3730e-3774-4af6-b513-592249771092",
}