# Poynt Collect
As a payment processing solution, Poynt Collect must be installed within your site's code following a series of steps. The steps to follow are determined by the normal flow of the service, starting with the installation of the source code. However, you must keep in mind the are a couple of important prerequisites.
# Prerequisites
- Active Developer Account
Once you set up Poynt Collect, you must follow the corresponding steps based on your objective.
# One-time Charge Configuration
Setting up Poynt Collect
Creating a Nonce
Charging a Nonce
# Recurring Payment Configuration
Setting up Poynt Collect
Creating a Nonce
Creating a Payment Token
Charging a Payment Token
TIP
This guide shows the URLs for testing with a Test Lab merchant on the US production environment. If you are working on the OTE environment, make sure to replace the URLs with the corresponding ote URLs. For fixed versions refer to version history
| US Production URL | OTE Staging URL |
|---|---|
| https://collect.commerce.godaddy.com/sdk.js | https://collect.commerce.ote-godaddy.com/sdk.js |
| https://services.poynt.net | https://services-ote.poynt.net |
# Initial Setup
- To begin working with Poynt Collect, you must select and insert one of the following scripts on your webpage's frontend.
Example 1:
<script
  type="text/javascript"
  src= "https://collect.commerce.godaddy.com/sdk.js"
  async
  defer
></script>
Example 2:
<script>
  const poyntCollect = document.createElement("script");
  poyntCollect.src = "https://collect.commerce.godaddy.com/sdk.js";
  poyntCollect.async = true;
  poyntCollect.onload = () => {
  // put the upcoming collect initialization steps and create transaction steps here
  };
  document.head && document.head.appendChild(poyntCollect);
</script>
- Create an instance of Poynt Collect with the JavaScript code shown below.
const collect = new TokenizeJs("<businessId>", "<applicationId>");
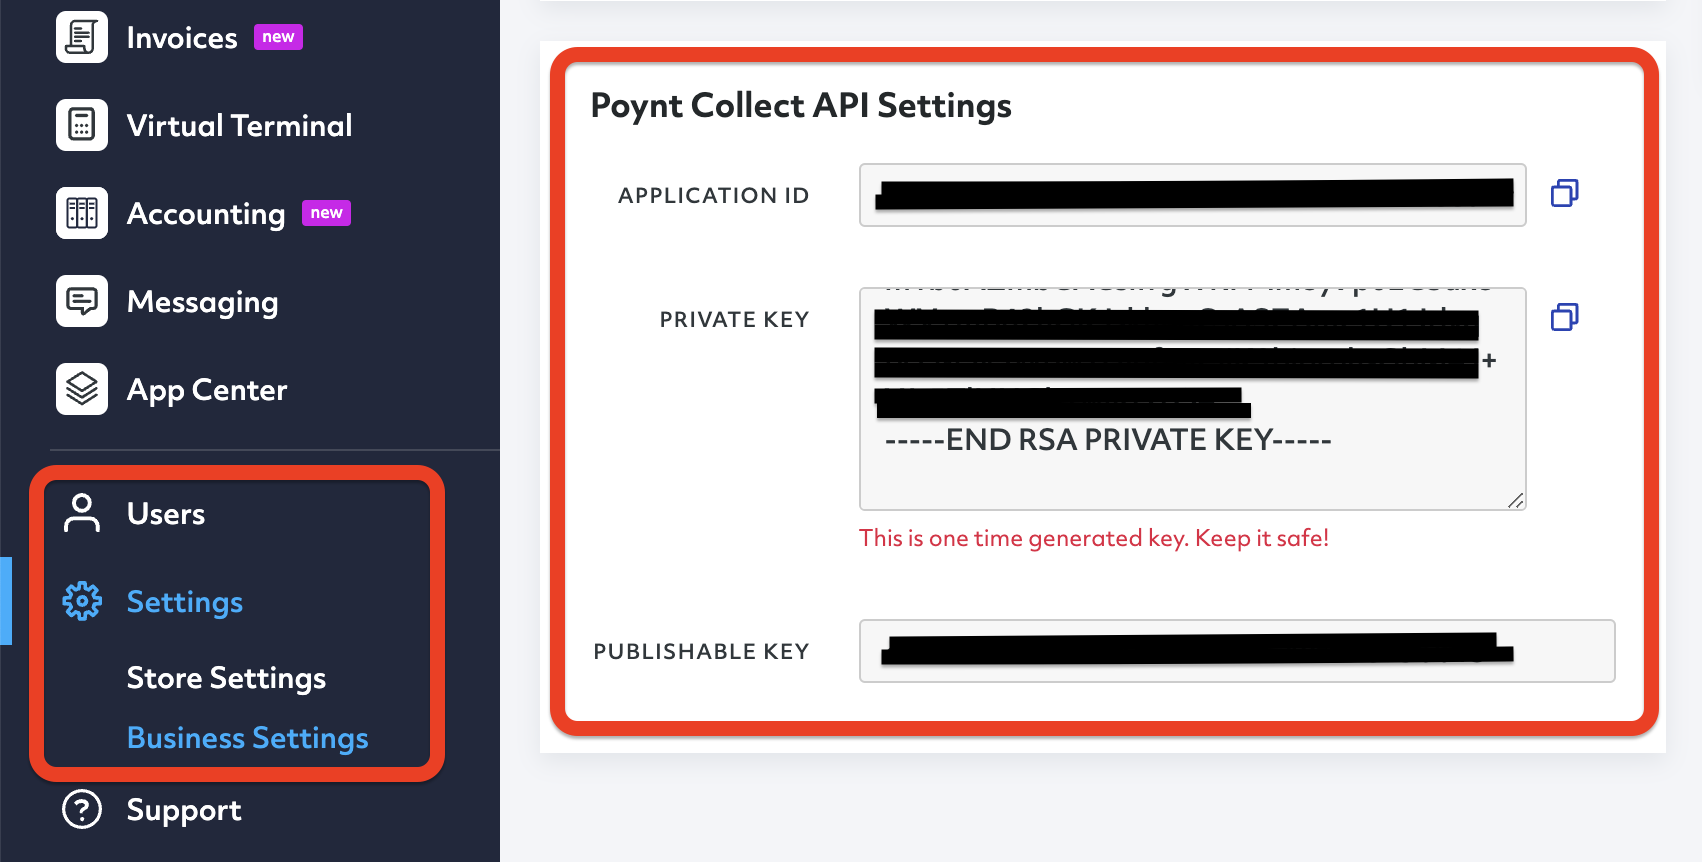
You can find your appId, businessId, and API key under the Business Settings tab in the Poynt HQ portal.
The Application ID section in PoyntHQ will follow the structure shown below:
0bc36d74-a978-55c6-dbce-a82735f8aeed=urn:aid:7a4e2ae7-99e9-40df-jiv5-t09b76543bc5
The separation between businessId and applicationId is marked by the equal (=) sign.
| businessId | Separation | applicationId |
|---|---|---|
| bc36d74-a978-55c6-dbce-a82735f8aeed | = | urn:aid:7a4e2ae7-99e9-40df-jiv5-t09b76543bc5 |
- To add the credit card form to your page, create an empty DOM container with a unique ID and send the ID back to Poynt Collect.
For example:
<html>
  <head></head>
  <body>
    <div id="card-element">
    <!-- Credit card form iFrame will be inserted here -->
    </div>
    <button>Pay</button>
  </body>
</html>
- Once your page has loaded, use your Poynt Collect instance to mount the iFrame to your container.
collect.mount("card-element", document, options);
# Methods
A method is a specific block of code that only runs when you call it. Poynt Collect Methods are used to perform certain actions, and they are also known as functions. Below is the primary method for Poynt Collect.
# collect.mount
collect.mount(domElementId, document, options);
domElementId (string): This string is referencing the DOM element where the payment form is added.
document: This is a constant element within the JS code.
options (object): These are the options for the customization of the payment form
Options Interface:
interface Options {
  displayComponents?: DisplayComponents; // additional fields to display in the payment form
  iFrame?: IFrame; // iframe options
  style?: Style;
  locale?: Locale;
  fields?: Fields; // data for pre-filling the fields of the payment form
  additionalFieldsToValidate?: FieldToValidate[]; // additional fields to validate (card number, expiration date, cvv and zip code are always validated)
  paymentMethods?: PaymentMethod[]; // if not passed or passed an empty array, only the payment form will be displayed
  inlineErrors?: boolean; // whether to use inline input errors instead of handling the "error" event (applies only to field errors, submit errors should still be handled using an "error" event listener)
}

interface DisplayComponents {
  labels?: boolean; // field labels
  paymentLabel?: boolean; // section labels
  zipCode?: boolean;
  firstName?: boolean;
  lastName?: boolean;
  emailAddress?: boolean;
  phone?: boolean;
  line1?: boolean;
  line2?: boolean;
  city?: boolean;
  territory?: boolean;
  countryCode?: boolean;
  collectShippingAddress?: boolean;
  // next fields works only when collectShippingAddress is true
  shippingLine1?: boolean;
  shippingLine2?: boolean;
  shippingCity?: boolean;
  shippingTerritory?: boolean;
  shippingZip?: boolean;
  shippingAddressSameAsBilling?: // the default value of the "Shipping address same as billing address" checkbox
}

interface IFrame {
  width?: string;
  height?: string;
  border?: string;
  borderRadius?: string;
  boxShadow?: string;
}

interface Style {
  theme?: "default" | "customer" | "ecommerce";
}

interface Fields {
  zipCode?: string;
  firstName?: string;
  lastName?: string;
  emailAddress?: string;
  phone?: string;
  line1?: string;
  line2?: string;
  city?: string;
  territory?: string;
  countryCode?: string; // must be a valid country code in ISO 3166-1 format
}

type PaymentMethod = "card" | "apple_pay" | "google_pay";

type Locale = "en-US" | "en-CA" | "fr-CA";

type FieldToValidate =
  "zipCode" |
  "firstName" |
  "lastName" |
  "emailAddress" |
  "phone" |
  "line1" |
  "line2" |
  "city" |
  "territory" |
  "countryCode" |
  "shippingLine1" |
  "shippingLine2" |
  "shippingCity" |
  "shippingTerritory" |
  "shippingZip";
Example:
const options: Options = {
  displayComponents: {
    firstName: true,
    lastName: true,
    emailAddress: true,
    labels: true,
  },
  iFrame: {
    width: "500px",
    height: "400px",
    border: "1px",
    borderRadius: "4px",
    boxShadow: "0 7px 14px rgba(50, 50, 93, 0.1), 0 3px 6px rgba(0, 0, 0, 0.08)",
  },
  style: {
    theme: "default",
  },
  locale: "en-US",
  fields: {
    emailAddress: "test@test.test",
  },
  additionalFieldsToValidate: ["firstName", "lastName", "emailAddress"],
  inlineErrors: true,
};

collect.mount("domElementId", document, options);
# collect.on
collect.on("eventName", (event) => {
// handle event
});
eventName (string): One of "ready", "error", "nonce", "iframe_height_change".
callback: (function): The callback function that will be called after the event fires.
Adds an event listener for a specific event. See Event Listeners for more details.
# collect.unmount
collect.unmount("domElementId", document);
domElementId (string): This string is referencing the DOM element where the payment form is added.
document: This is a constant element within the JS code.
Removes the Collect instance from the DOM. domElementId must match the one used in collect.mount.
# collect.getNonce
A method to create a nonce. See Event Listeners for more details.