# PST3 (PoyntC) Emulator Setup
# Windows Instructions
If you wish to begin developing applications for GoDaddy Poynt using our PST3 Emulator and you are currently using a Windows Machine, you can follow the instructions below to successfully install the emulator.
# Prerequisites
- Windows 8/10 64-bit
- 8GB RAM and 8GB disk space
- Android SDK with API level 29 (Android 10)
- Android SDK Command-line Tools
- Java JDK
- Python (for installation scripts)
# Accessing the Command Prompt
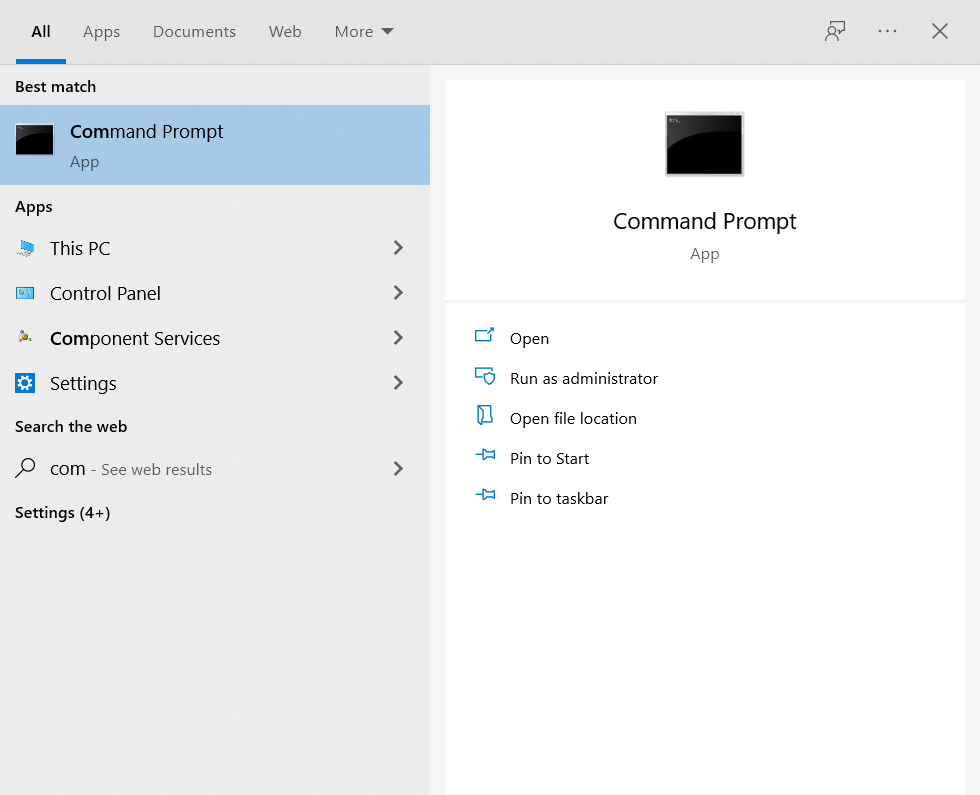
To begin the installation process for the Poynt C emulator, you must open a terminal window by searching and selecting the Command Prompt on your computer.
The following steps will require you to execute a series of actions in the Command Prompt. Make sure to verify the tools you have already installed or follow the instructions to install the new ones.
# Setting up Android SDK
All Poynt emulators are Android-based; for this reason, they require Android SDK to run correctly.
Note
If you are an Android software developer and have already installed Android SDK, you may skip this step. If you haven’t, or you are unsure, please follow the instructions below.
Download and install the latest version of Android SDK using Android Studio's official documentation (opens new window).
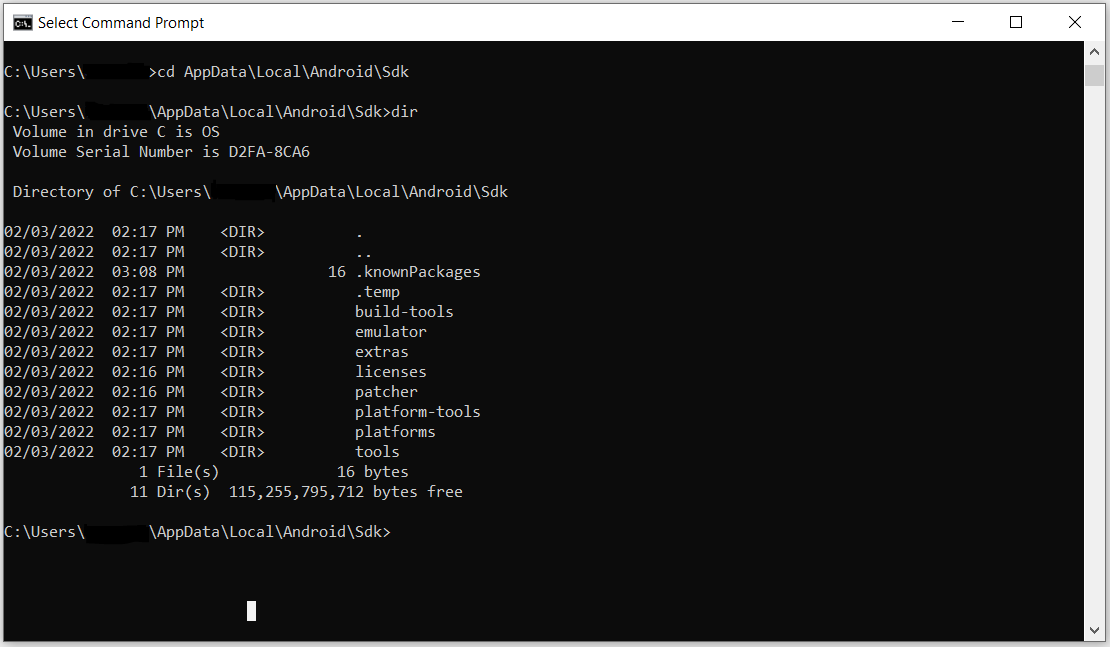
Take note of the installation path for Android SDK. The environment variable for this tool will require further configuration.
- On Windows devices, the path should be:
C:\Users\**username**\AppData\Local\Android\Sdk
- On Windows devices, the path should be:
Verify the installation path with the command
cd AppData\Local\Android\Sdk
# Setting up Java
Note
If you have already installed JDK, you may skip this step. If you haven’t, or you are unsure, please follow the instructions below.
Follow the link to download AdoptOpenJDK v8. (opens new window)
Install the downloaded OpenJDK8U-jdk_x64_windows_hotspot_8322b06.msi file.
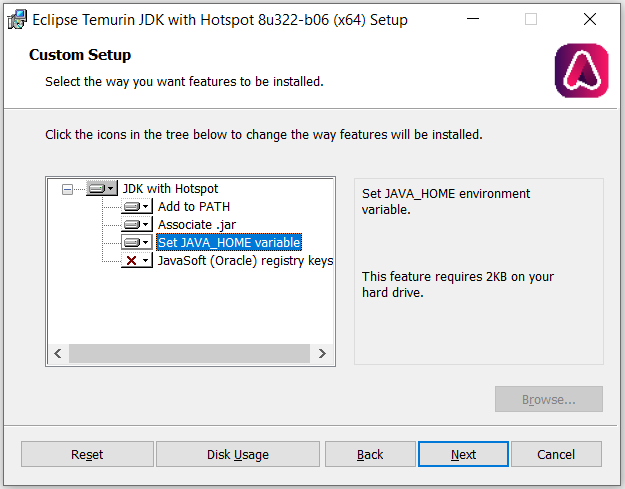
Take note of the installation path for JDK.
- For Windows, by default, the path should be:
c:\Program Files\Temurin\<package>and you should be able to update the JAVA_HOME environment variable on the custom setup screen during the installation.
- For Windows, by default, the path should be:
Restart your computer to complete the installation.
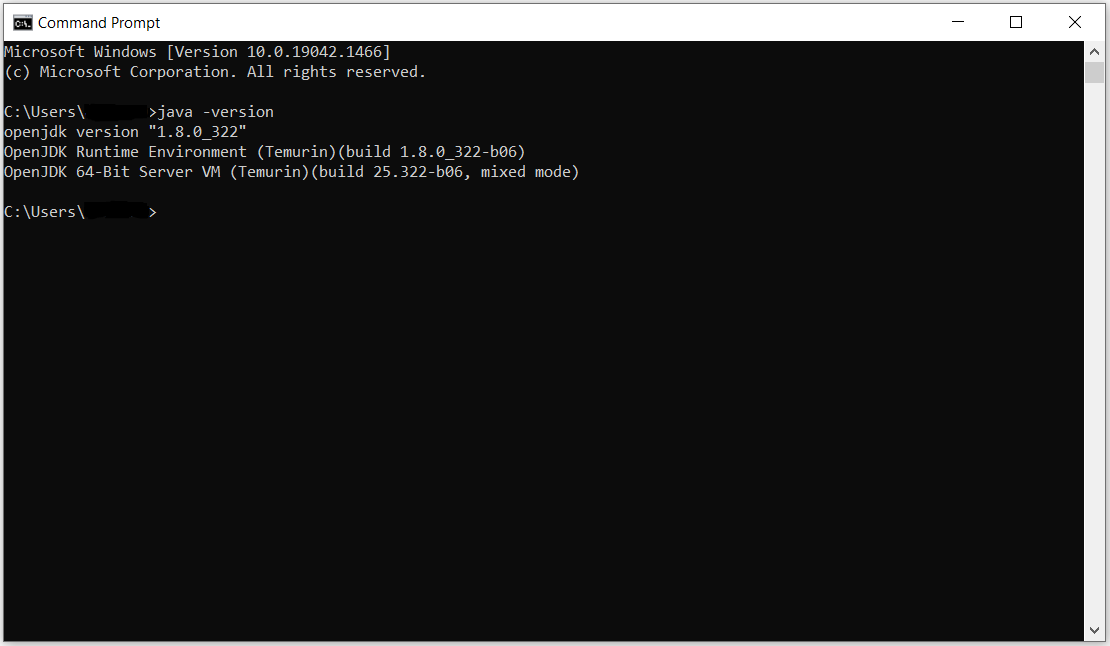
Verify the installation by running
java -versionon the command line. The outcome should look similar to the image below.
# Configuring the environment variables
Environment variables are in charge of storing information about the system for applications to run smoothly. In our case, they contain the paths to Android SDK, JDK, and the Poynt emulator information. If these paths are not properly configured, the Poynt emulator installation script will not execute correctly.
- Open the Advanced System Settings interface on your computer.
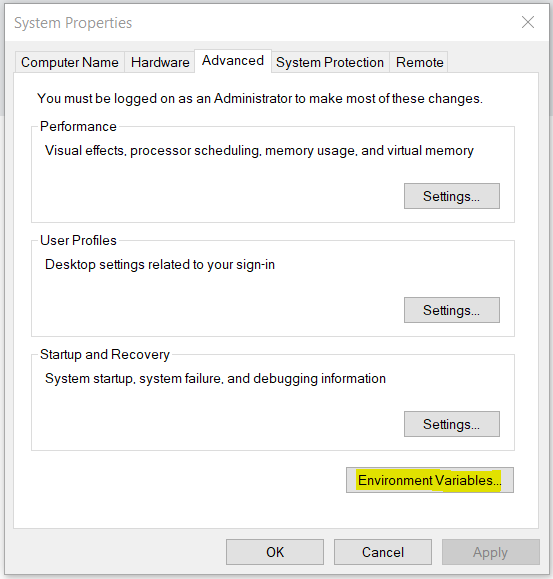
- Click on "Environment Variables" and select the option to add new variables.
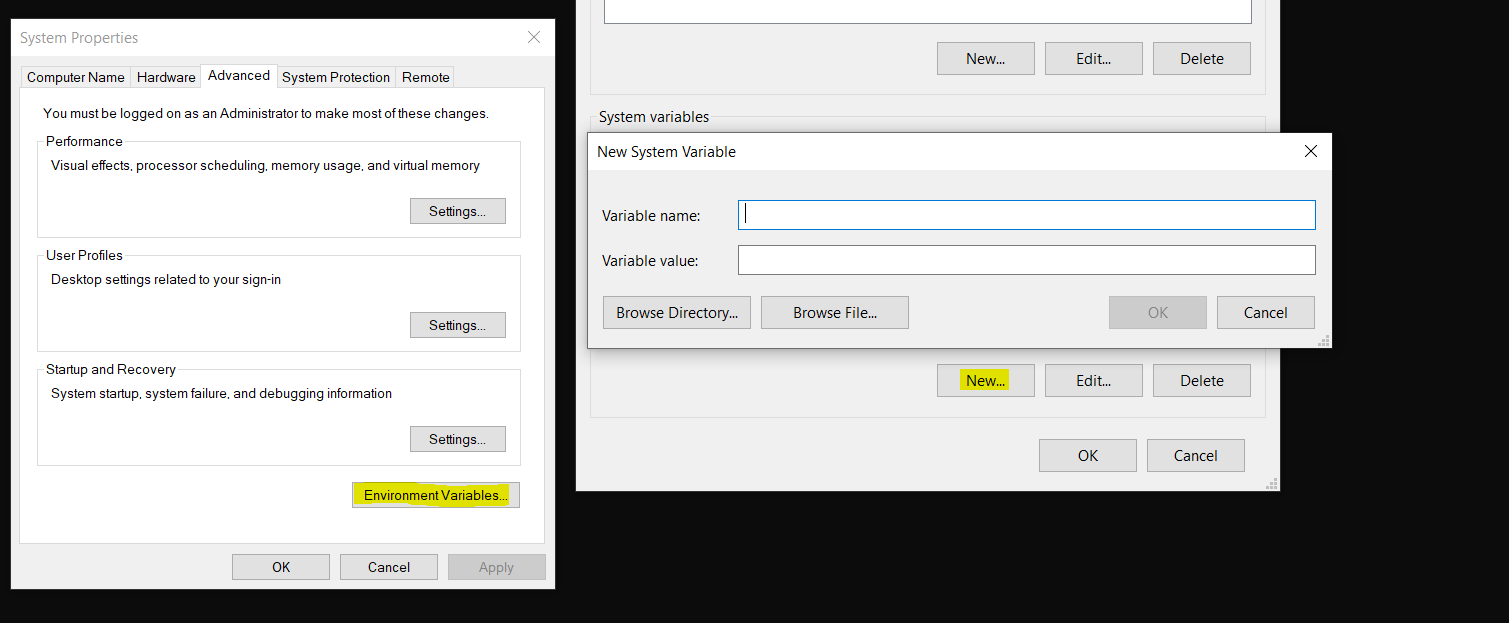
- Create the variables outlined in the table below and add their corresponding values.
| Variable Name | Configuration |
|---|---|
| ANDROID_HOME | Place the Android SDK installation path as the value. |
| EMULATOR_REPO_PATH | Paste the following link into the value of the variable: https://gd-commsplat-prod-emulator.s3.amazonaws.com/custom-emulator/android10 |
| EMULATOR_SERIAL | Add the value P6EMUA followed by 8 random digits of your choice. This will be the terminal ID for your emulator. |
| OUT_DIR | Enter the recommended "C:\Users\username" path for the emulator. The script `start-poynt-emulator` will be placed here after the installation |
| EMULATOR_NAME | Enter the name of the Android Virtual Device (Poynt_PST3). |
NOTE!
Please make sure your EMULATOR_SERIAL variable is made up of truly random numbers. Combinations like 123456... may already be in use and will be rejected.
Save your changes and click on OK to close the interface.
Open a new command prompt window to allow these values to take effect.
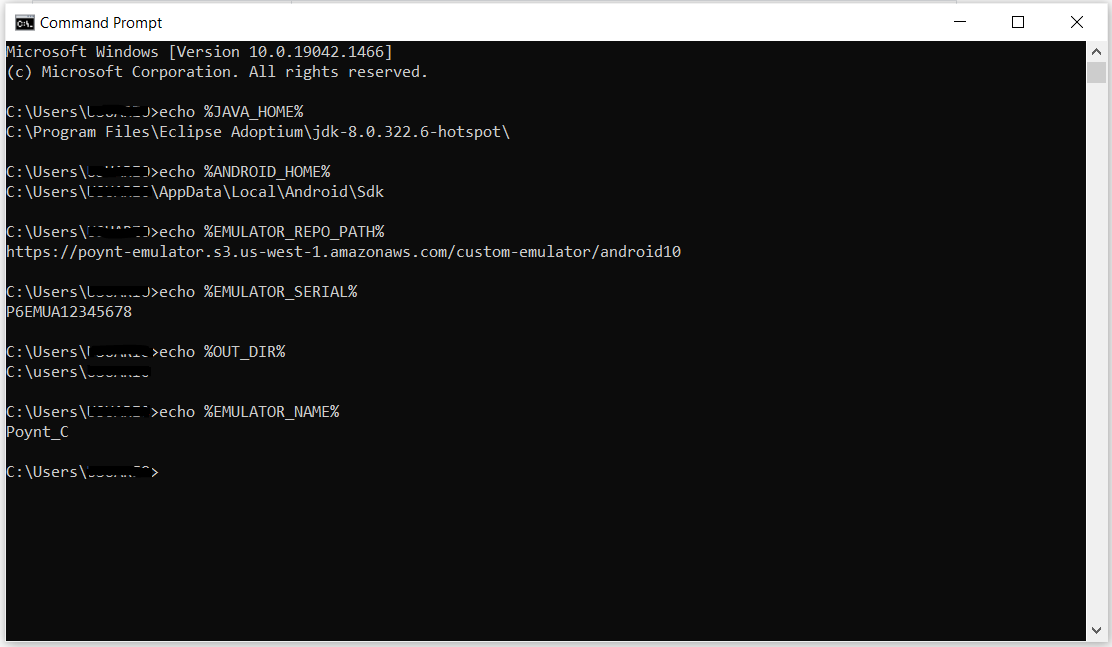
Confirm that the environment variables are being used correctly by displaying their values using the following commands:
echo %JAVA_HOME%
echo %ANDROID_HOME%
echo %EMULATOR_REPO_PATH%
echo %EMULATOR_SERIAL%
echo %OUT_DIR%
echo %EMULATOR_NAME%
The output should look similar to the image below.
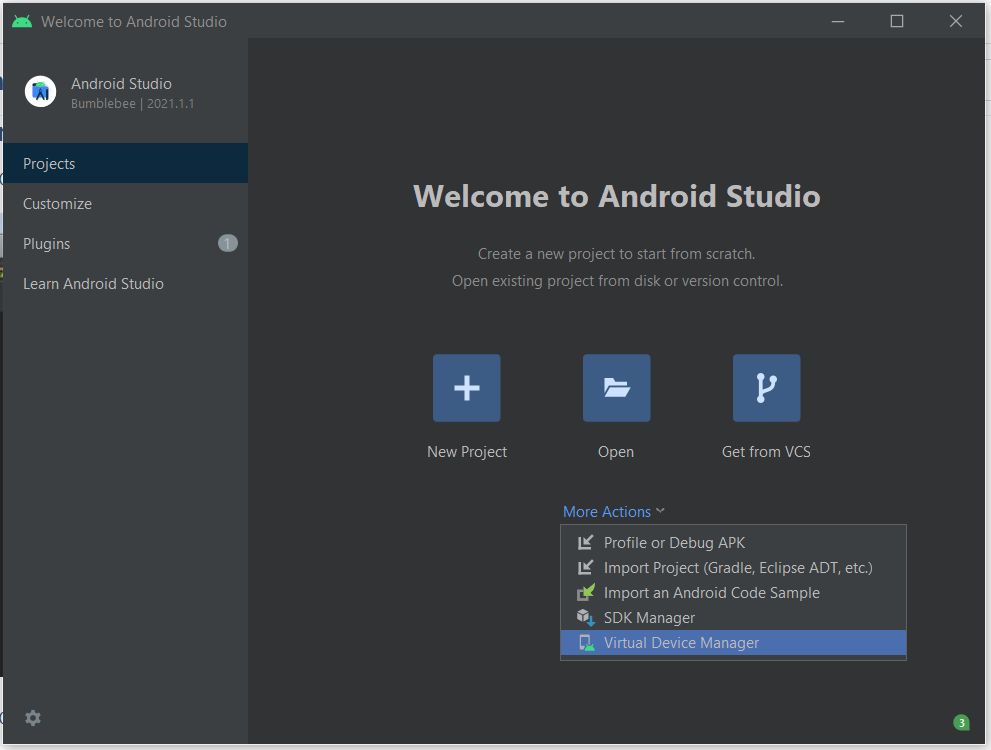
# Creating a Virtual Device
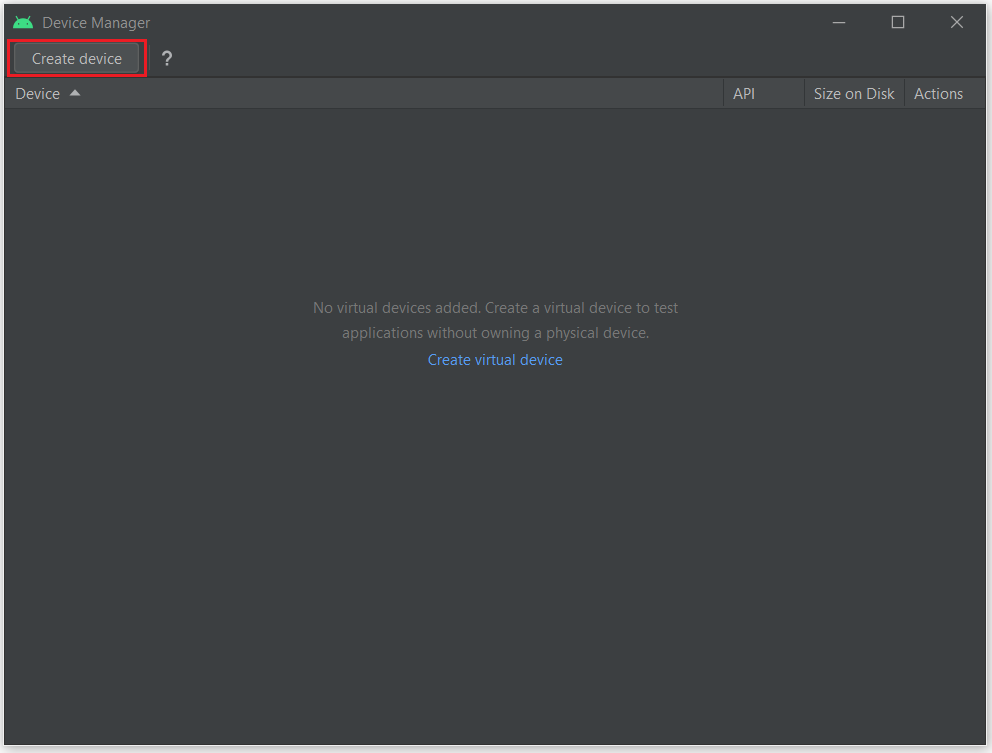
- Open the AVD Manager in Android Studio.
- Click on the Create device button.
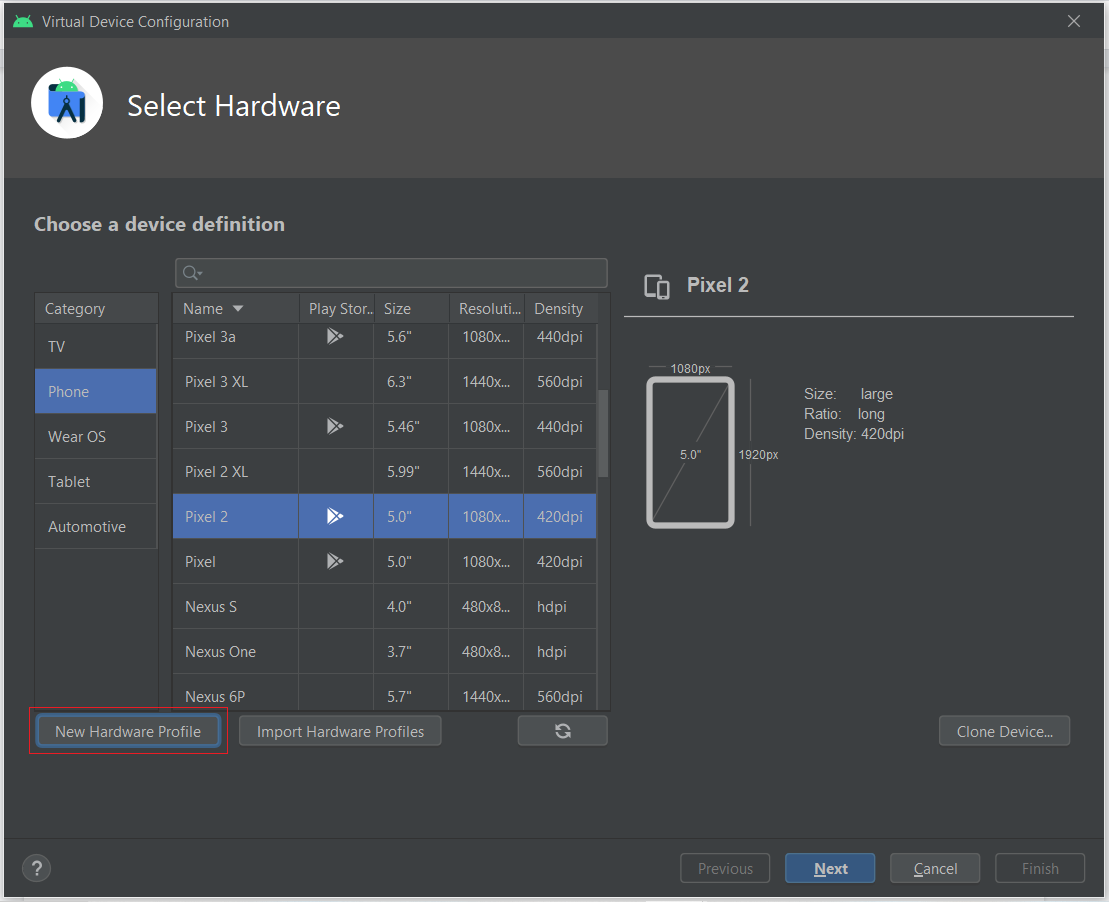
- Then select the New Hardware Profile option.
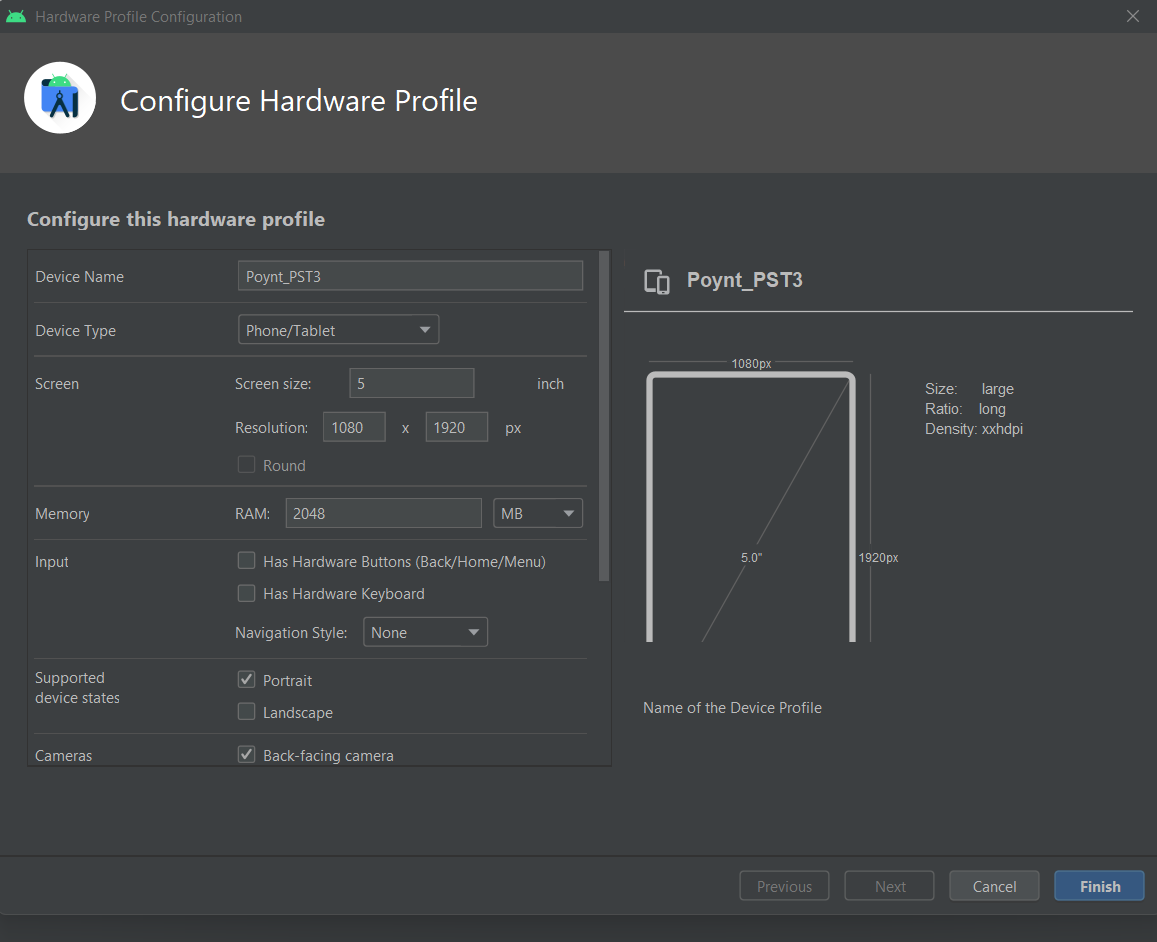
- Set the device name, resolution, RAM, Orientation and Camera options.
- Select and download the API Level 29.
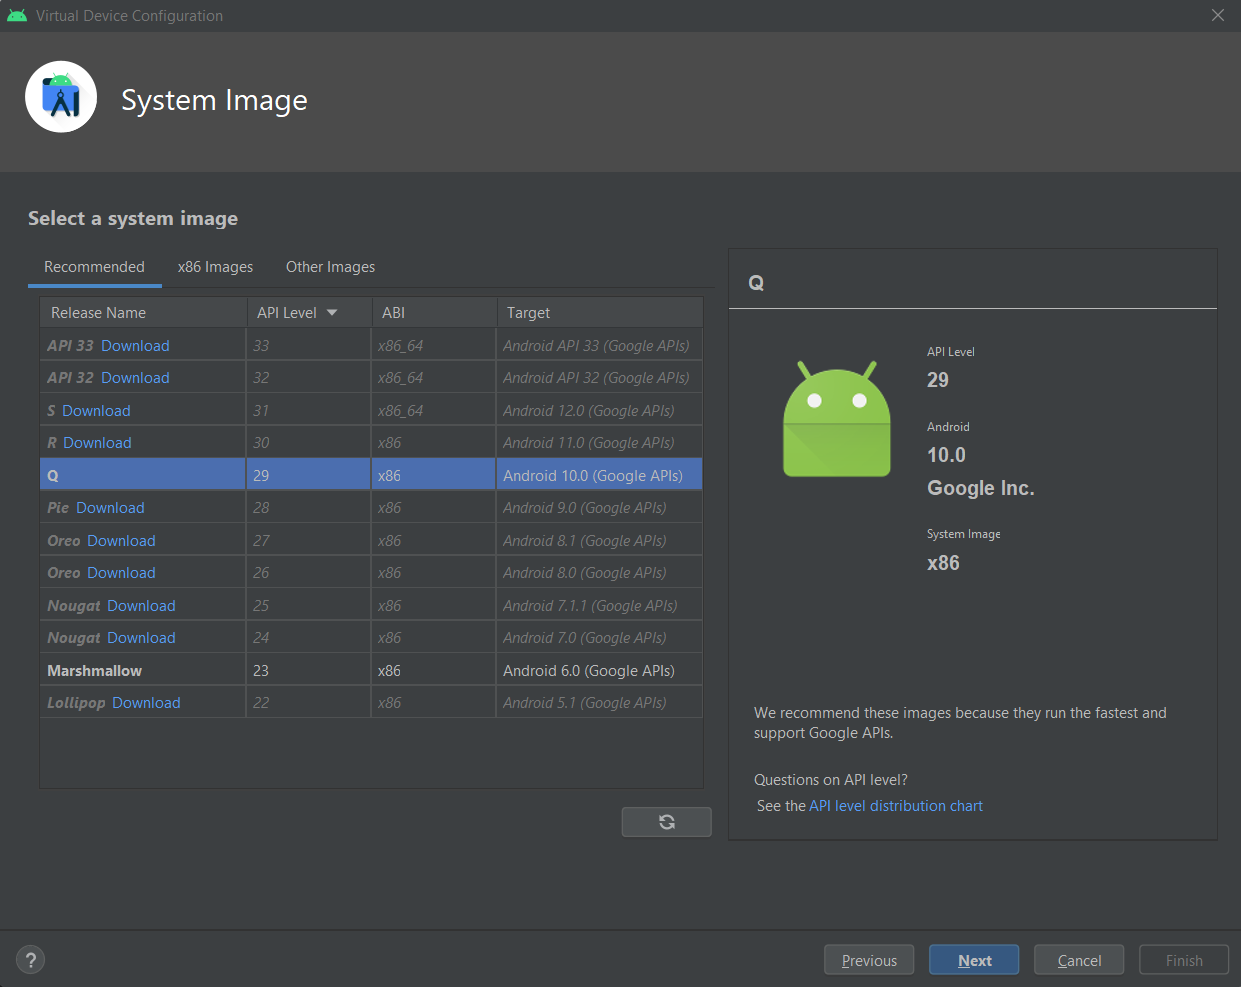
- After that, you must click on Next and Finish to create the device.
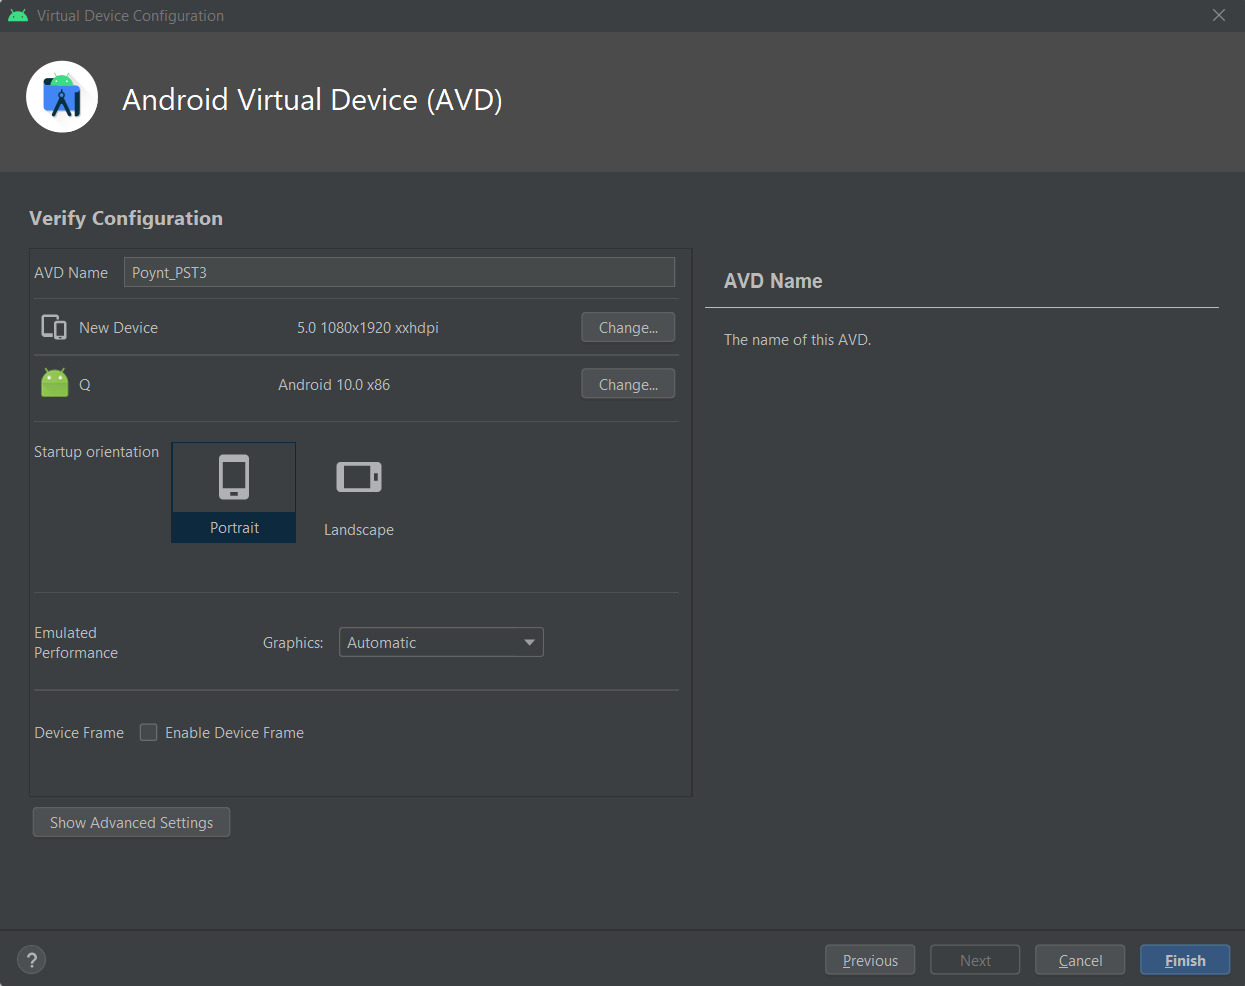
NOTE
Please remember to use the same name as the EMULATOR_NAME variable.
- Once you come back to the initial page, you should see a new virtual device. You click on it to begin the launch process.
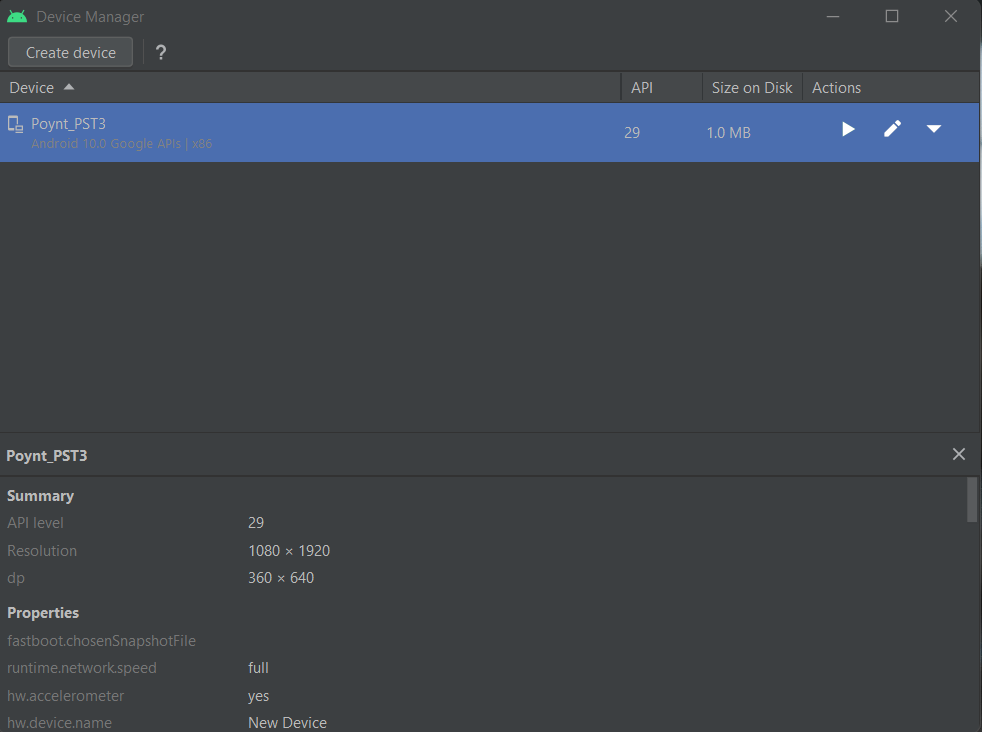
NOTE
Please remember to keep the Virtual Device Manager tab open while you are installing and starting the emulator using the corresponding scripts
# Installing the Poynt emulator
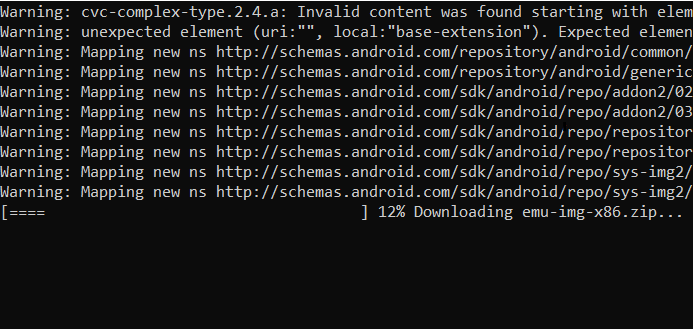
For this section, please follow the link to download the install-poynt-emulator.bat (opens new window) and execute it in the Command Line from the directory of the file using the script install-poynt-emulator.bat.
The installation should take a while to complete. However, you can follow the download with the progress indicator at the bottom of the screen.
# Starting the Poynt emulator
If the command line install-poynt-emulator.bat was executed correctly, you can start the emulator by running the generated script start-poynt-emulator.bat from the path you specified in %OUT_DIR%:
After executing the command, a welcome screen will be displayed and the Poynt emulator will become operational.
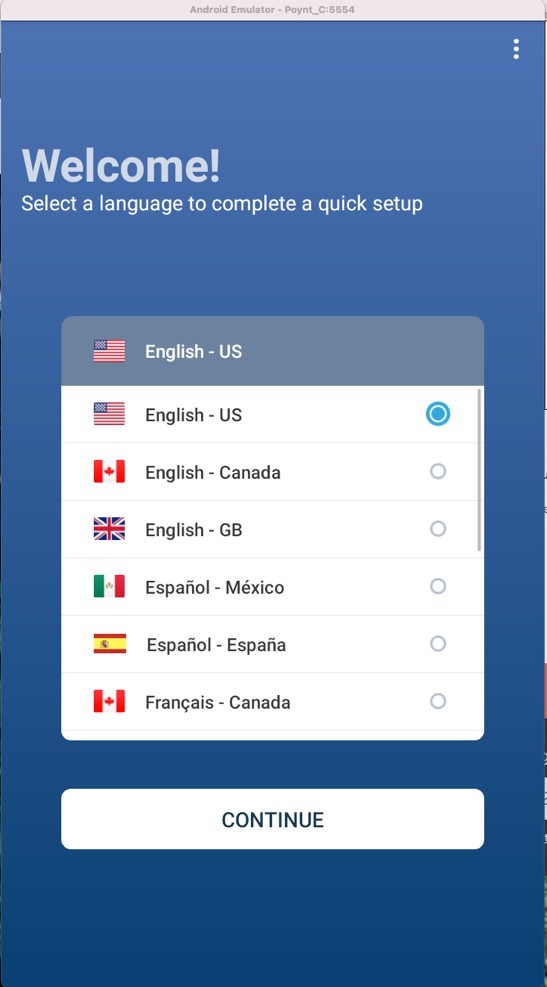
Great job! You have successfully installed the Poynt C Emulator.
TIP
To learn more about the configuration process, please refer to the Activation section in the official documentation.